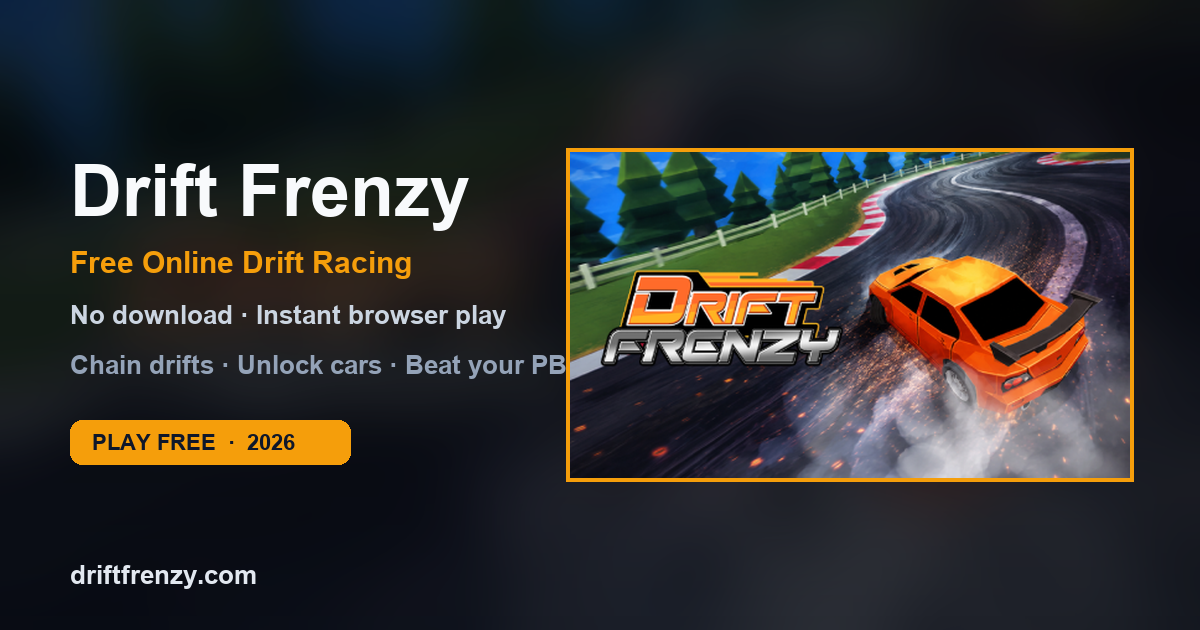
Unlocking cars in Drift Frenzy is not just cosmetic progress — each vehicle changes how your drifts feel, how long you can hold angle, and how much score you can extract from the same corner. This guide explains how coins work, which cars to unlock first, and how to farm coins without burning out on failed runs.
How Coins Work in Drift Frenzy
Coins appear on the track as collectibles. Driving through them adds to your wallet for that session and for permanent unlocks. Importantly, coin collection and high-score drifting are related but not identical skills:
- Score runs prioritize clean chains and multiplier survival.
- Farming runs prioritize safe lines that pass through dense coin clusters.
Early on, run farming sessions intentionally. Once you own 2–3 versatile cars, switch back to pure score chasing.
Best Early Cars to Unlock
Do not unlock the most expensive car first. A mid-tier balanced car almost always raises your average score more than a flashy extreme-handling vehicle you cannot control yet.
- Balanced starter upgrade: slight extra grip or stability so early chains survive longer.
- Technical-track specialist: grippier response for hairpins and S-curves.
- Flow-track slider: slipperier car for wide circuits where long drifts print score.
If a car makes you hit walls more often, it is not “better” for you yet. Save it for after your timing improves.
Coin Farming Route Strategy
Rule of thumb: a clean 90-second run with steady coin pickups beats a reckless 20-second crash with one big drift. Coins compound across sessions; dead runs do not.
- Memorize coin lanes on the first two tracks before chasing advanced maps.
- Prefer the inside of gentle curves when coins sit near the apex — but only if you can still exit cleanly.
- Skip risky outer-wall coins until your wall-contact rate is near zero.
- After a wall hit, reset mentally: finish the lap safely for remaining coins instead of forcing a broken chain.
Scoring vs Unlocking: When to Switch Goals
Use this simple loop:
- Farm until you unlock the next useful car.
- Spend 10–15 runs learning that car’s entry timing.
- Push personal-best scores on one familiar track.
- Return to farming when score gains plateau.
This prevents the common trap of grinding coins on a car that cannot hold combos, or chasing scores on a car that constantly over-rotates.
Handling Traits That Affect Unlocks
When reading car descriptions or testing unlocks, evaluate three traits:
- Slide duration: how long the rear stays out before self-correcting.
- Recovery snap: how quickly the car straightens after release.
- Forgiveness: how much oversteer you can fix before a wall tap.
High slide duration raises score potential but punishes late release. High recovery snap is safer for chain-heavy technical tracks.
Common Unlock Mistakes
- Spending all coins on one extreme car before mastering basics.
- Ignoring safer coin lines because they “look slower.”
- Changing cars every run instead of learning one handling profile.
- Trying expert tracks for farming before intermediate tracks are consistent.
Quick FAQ
Do better cars automatically give higher scores? No. Better cars raise the ceiling only if your timing matches their handling.
Should I farm on the hardest track? Usually no. The best farm track is the hardest one you can complete cleanly for long stretches.
Is there a single best car? No universal best car. There is a best car for your current skill and the track type you play most.
Ready to put this into practice? Play Drift Frenzy free, then check our high score strategies and tips page once your garage starts filling out.